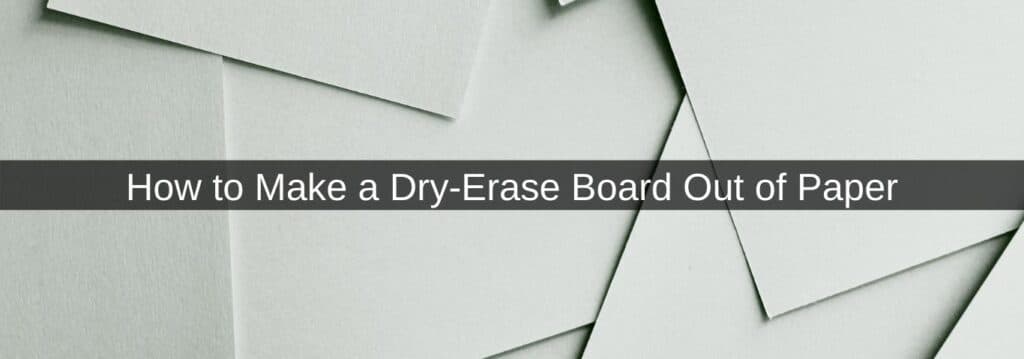
How to Make a Dry-Erase Board Out of Paper
Creating your own dry-erase board from home can be a rewarding activity that provides you with a useful end product.
To learn exactly how to make a dry-erase board out of paper, follow the steps below. By the end, you’ll have a much better idea about what’s involved with creating a dry-erase board from scratch.
Materials For Your DIY Dry Erase Board
Make sure that you have a big flat surface to create your dry-erase boards. You could use a foam board or piece of wood with a notebook page stuck to it.
Some of the other things you need include the following:
- Scissors
- Pencil
- Pen
- Ruler
- Something with a flat edge (like a credit card)
- Dry erase marker
- Dry-erase contact paper
- Glue
These supplies can all be purchased from the dollar store btw!
Making a Dry Erase Board Out of Paper
Once you’ve gathered all of your materials, it’s time to get started.
- Start by making sure that the flat surface you’re using is clean and dry.
- Use a ruler to measure the contact paper and mark it using a pen.
- Cut out the measured area using your scissors and get rid of the backing paper.
- Put the contact paper down on the surface, making sure that the corners of the surface match up with the paper.
- Use something with a flat edge (like a credit card) and place it in the middle of the paper and apply pressure. Smooth out the edges to remove all the bubbles.
Once you’re done, simply wipe any marks with a damp cloth and dry paper towel, and your dry-erase board is ready to use.
Also read: How to Remove Permanent Marker From Dry-Erase Boards
Conclusion
After reading through our step-by-step tutorial on making your own dry-erase board, we hope that you’re feeling ready to give it a try. DIY projects can be incredibly rewarding for you and your family to come up with ideas and have fun.
Dry-erase boards can be fantastic for being creative and drawing. They can also be practical in your house, enabling you to take notes.
We hope that this tutorial has been useful in helping you learn how to make a DIY dry-erase board from home, so get on it today and give it a go!
FAQs
What are some ways you can be creative with your board?
When it comes to using a picture frame for the board, you can let your creativity run wild by decorating it.
Adding a small eraser to the board can be a great way to make it more convenient for you to erase what’s on the board without having to use tissue or paper towels all the time.
You could also hang it up on a wall so that you and your family members can draw and write on the new board easily.
Are there any alternatives to contact paper?
Yes, you can use a sheet protector as an alternative to contact paper. However, contact paper is the better option due to how it’s cleaner and easier to wipe away the ink after using your dry-erase markers.
What’s the best way to clean a DIY dry-erase board?
After a while, you may find that your board becomes dirty and the ink leaves marks. To remove these ink marks, you can apply some rubbing alcohol to the surface and gently rub it until the erase markers are removed.
Affiliate Disclosure
In compliance with the FTC guidelines, please assume the following about all links, posts, photos and other material on this website: Any/all of the links on this website are affiliate links of which The Big Red Illustration Agency receives a small commission from sales of certain items, but the price is the same for you. www.bigredillustrationagency.com is a participant in the Amazon Services LLC Associates Program, an affiliate advertising program designed to provide a means for sites to earn advertising fees by advertising and linking to Amazon.com & Amazon.co.uk. Pages on this site may include links to Amazon and its affiliate sites on which the owner of this website will make a referral commission.
FULL TERMS HERE Cookie preferences: cookie preferences
Written By Adam Rushton
Adam has made a name for himself in the illustration industry and is a passionate blogger and writer on the subject of art, illustration and graphic design.
His artwork has been featured in countless publications and used for very well-known media projects. As a professional illustrator for over 20 years, Adams media outlets, a wealth of knowledge, and experience enable him to consult and advise artists and illustrators in this country (from York and Manchester to Southampton and London) and all over the world.


