How to Shade With Markers – Let’s Take Another Look
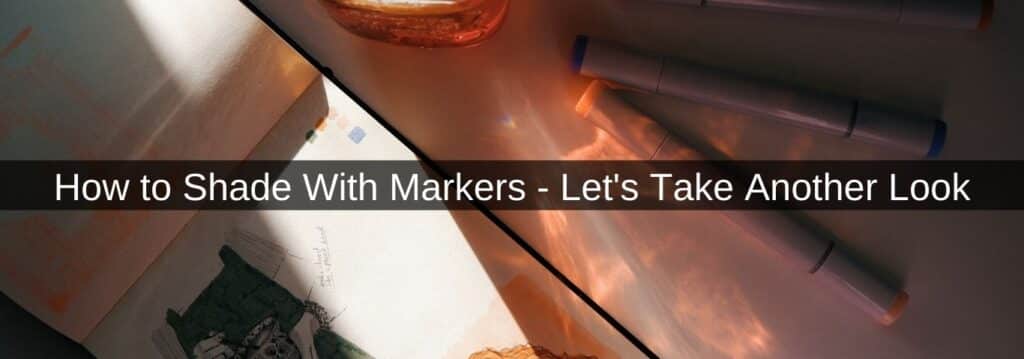
When it comes to shading with markers, there are a few important techniques to achieve the best results. There are also various markers available that can alter your shading results.
After reading through this post, you’ll be left with a better sense of how to use markers for shading to create some wonderful artwork.
Preparation
First of all, make sure that you use cardstock paper. Printer paper tends to cause the ink to bleed more which makes the shading process more difficult.
If you don’t have access to cardstock, you can also use bristol or construction paper, as well as sketchpads.
It’s also a good idea to keep a pencil on hand (this can be a graphite pencil or a set of colored pencils). This enables you to sketch out your design by drawing lines and details before you start coloring.
Once you start drawing with markers, it’s hard to erase them and correct mistakes.
In addition to this, you may want to place some scrap paper or old newspaper underneath the paper to prevent the ink from bleeding through and ruining the surface.
You can use Copic markers, Sharpies, or any other kinds of alcohol-based markers.
Shading With Markers
- Use your pencil to draw a circle on your piece of paper.
- Choose a color from your marker collection.
- For permanent and acrylic markers, shade in one direction with broad strokes.
- Repeat until the entire shape is filled.
- Avoid going over an area more than once to achieve an even color.
- When using permanent markers, oversaturating a specific area will cause the color to appear uneven.
- For blending and chalk markers, fill the entire shape with the color in a back-and-forth motion.
- Add another layer of color by following the same aforementioned techniques.
- Continue to shade the area with the same marker until the color becomes deeper for shadows.
Also read: How to Use Copic Markers – A Quick Guide
Shading With Blending Markers
- Before starting, read the manufacturer’s instructions. Some blending markers include mixing chambers, while others are colorless blenders.
- Round up three markers in the same color but in contrasting tones, such as standard orange, light orange, and dark orange.
- Use your graphite or colored pencils to sketch a circle.
- Then use the light orange marker to color the foundation.
- You can use the method I described for shading with a single color mentioned above.
- Your mid-tones should be drawn on top of the foundation layer using the standard orange pen.
- By rubbing the tip of the marker back and forth where the colors overlap, you can smooth out any uneven areas.
- When it comes to using pens with mixing chambers, the two points of the markers can be touched to create a blending effect.
Conclusion
Initially, making mistakes when learning a new drawing skill is perfectly normal. Even professional artists have difficulty blending with markers at times.
Getting better at blending with markers simply takes time. The more you practice, the better you’ll become. Be sure to implement the above drawing and shading tips when using Sharpie or Copic markers.
Hopefully, you can use the techniques mentioned throughout this post to improve your blending skills.
Affiliate Disclosure
In compliance with the FTC guidelines, please assume the following about all links, posts, photos and other material on this website: Any/all of the links on this website are affiliate links of which The Big Red Illustration Agency receives a small commission from sales of certain items, but the price is the same for you. www.bigredillustrationagency.com is a participant in the Amazon Services LLC Associates Program, an affiliate advertising program designed to provide a means for sites to earn advertising fees by advertising and linking to Amazon.com & Amazon.co.uk. Pages on this site may include links to Amazon and its affiliate sites on which the owner of this website will make a referral commission.
FULL TERMS HERE Cookie preferences: cookie preferences

Written By Adam Rushton
Adam has made a name for himself in the illustration industry and is a passionate blogger and writer on the subject of art, illustration and graphic design.
His artwork has been featured in countless publications and used for very well-known media projects. As a professional illustrator for over 20 years, Adams media outlets, a wealth of knowledge, and experience enable him to consult and advise artists and illustrators in this country (from York and Manchester to Southampton and London) and all over the world.
