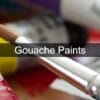
How to Use Prismacolor Markers
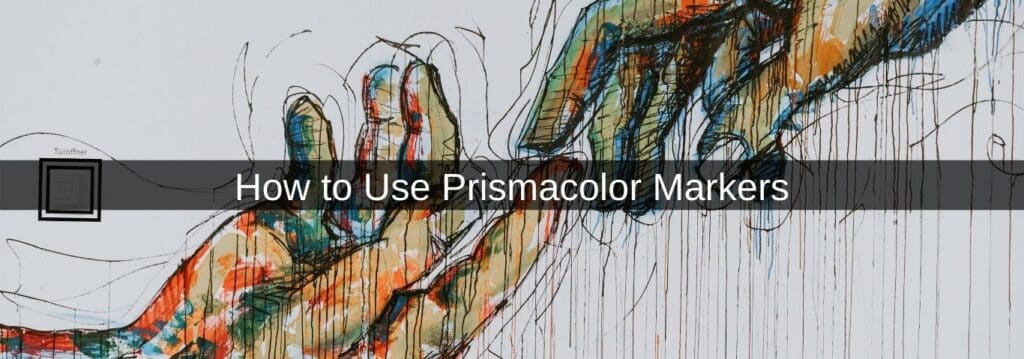
Prismacolors are fantastic art supplies that people use when it comes to improving their blending skills. Many artists also like how these permanent marker pens don’t produce a strong odor due to how the ink is water-based.
With so many different colors and options to choose from, you may be feeling a little overwhelmed with where to begin when using Prismacolor markers.
Well, this blog post takes you through the main things that you need to know so that you can start using these marker pens right away, allowing you to improve your artwork and blending skills as you go.
What You Need
- For starters, make sure that you have a chisel nib or brush Prismacolors available. These are ideal for coloring across big surfaces whilst also enabling you to be more detail-oriented.
- Cardstock is next on the list. This paper is heavier than usual paper and is often used for postcards and crafts projects. A good alternative is marker paper due to how the surface is smooth.
- Scrap paper or newspaper is also needed. You’ll place this on the surface that you choose to work on to keep it protected from the ink bleeding through.
- Fine-tip markers or gel pens are also needed. These are useful when it comes to creating bold outlines in your work.
- An eraser and pencil will come in handy too. This is especially if you’re still working on your sketching abilities.
How To Use Prismacolor for Blending Colors
One of the first methods to master is swatching your colors. Professional artists often do this to get a more accurate idea of what their colors will look like on the page due to how colors can look slightly different on different types of paper.
- Start by using your marker paper or cardstock and labelling it as Prismacolors.
- Write the code and name of each color in your set on the page (this is located on the marker body).
- Leave a little gap beneath where you write the code so that you can color the area in with the corresponding marker name and code.
Coloring With Prismacolor Premier Markers
- Begin by choosing your first color and drawing two distinct lines on your cardstock or marker paper.
- Apply the same pressure on the pen whilst drawing the first line.
- When using the second color to sketch the next line, release the pressure on the brush tip slightly towards the end. You’ll notice that the smooth line becomes lighter towards the end, which is great for adding texture.
- Use your pencil to draw a square or rectangle on the page.
- Use your colored pencil to draw lines throughout the shape to fill it using the same pressure with each stroke.
- This should result in a smooth color throughout the shape. You can go back and forth over areas if you notice gradients.
- Next, draw a separate square or rectangle and use the method that you used when drawing the second line from the previous steps.
- By releasing the pressure towards the end of each stroke, you’ll notice that you create a gradient.
- Try experimenting and using another shade from the same color to practice your blending skills.
- Prismacolor colorless blender marker sets can also be used at this stage to work on your blending.
- When it comes to creating shades with two markers, be sure to start with the light color first.
Also read: Watercolor Markers How to Use
Conclusion
So, that concludes our post on how to properly use your Prismacolor colored pens. We hope that the details throughout our post have helped you to feel more confident about using these blending marker supplies.
You can have fun trying out the double-ended art markers and Prismacolor colorless blender marker options that are available to create different pieces of artwork using varying techniques. There are also different brands available for marker drawing, such as Copic, that you can experiment with for creating fur and varying tones throughout your work.
Initially, you may find that using Prismacolor art markers is a time-consuming process. However, the more you practice your Prismacolor drawing and shading, the better your blending skills will become.
…and let’s not forget, there’s still the use of colored pencils to practise on too!
Affiliate Disclosure
In compliance with the FTC guidelines, please assume the following about all links, posts, photos and other material on this website: Any/all of the links on this website are affiliate links of which The Big Red Illustration Agency receives a small commission from sales of certain items, but the price is the same for you. www.bigredillustrationagency.com is a participant in the Amazon Services LLC Associates Program, an affiliate advertising program designed to provide a means for sites to earn advertising fees by advertising and linking to Amazon.com & Amazon.co.uk. Pages on this site may include links to Amazon and its affiliate sites on which the owner of this website will make a referral commission.
FULL TERMS HERE Cookie preferences: cookie preferences

Written By Adam Rushton
Adam has made a name for himself in the illustration industry and is a passionate blogger and writer on the subject of art, illustration and graphic design.
His artwork has been featured in countless publications and used for very well-known media projects. As a professional illustrator for over 20 years, Adams media outlets, a wealth of knowledge, and experience enable him to consult and advise artists and illustrators in this country (from York and Manchester to Southampton and London) and all over the world.


