How to Blend Marker
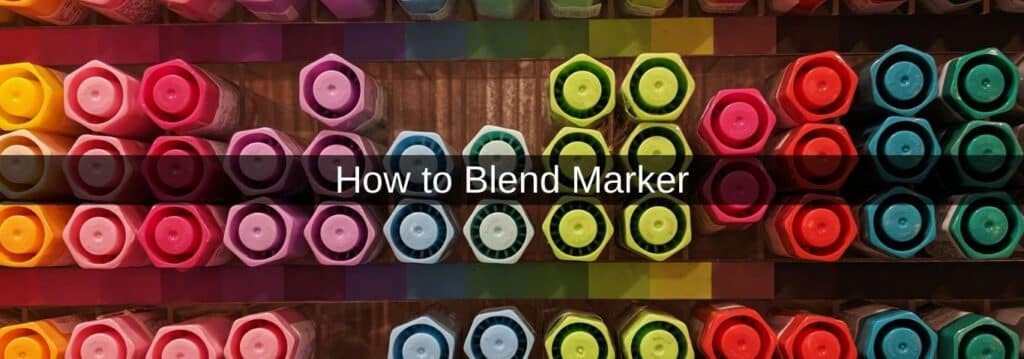
If you’re wondering how to blend alcohol markers, you’re in the right place. This post covers the main steps involved in blending alcohol markers so that you can create a smooth transition and improve your artwork.
Making Your Marker Blending Smooth
To achieve a smooth blend with alcohol-based markers, you need to use various shades of the same colour. If you just use two shades to blend alcohol markers, you’ll find that the transition isn’t smooth.
Therefore, adding a third and fourth marker, or more can make a tremendous difference and enhance the quality of your artwork for a soft transition with your alcohol-based marker.
Colorless Blenders
Using a colorless blender allows you to continue blending your art without having to add pigments to it. Some people find that using colorless blenders can cause the colors to become diluted. Therefore, make sure that your ink isn’t too wet on the page.
Marker Blending Methods
- The order of shading that you follow when blending markers is important. You should start with the lightest shade and gradually move your way along until you get to the darkest tone of the same color.
- In addition to this, blending markers work best when the ink is wet. So, be sure to blend your markers in stages.
- Start by coloring in the area with a light color. Go one shade up and color over the top of the existing color whilst still leaving some areas for the lighter color to come through.
- Continue like this until you’ve achieved the color that you want. You can also go back to the lighter colors and shade in the area where you see fit.
- You may want to leave a little bit of space around the area that you want to be filled with color. This is because the ink from markers tend to bleed. Leaving some space allows for this bleeding to ensure that you don’t go over the lines.
- To enhance how well your colors have blended, you can add a background and highlights to your artwork.
Conclusion
After reading through this post on how to blend markers smoothly, we hope that you’re feeling more confident about it.
You should keep in mind that this may be a process. So, even if it doesn’t look great the first few times, keep practising and you’ll notice that your blending gets better and better each time.
FAQs
Which ink is best for blending markers?
There’s no one best type of ink for this type of artwork. If you want convenience, however, Copic markers may be a good option due to how the ink is refillable.
Affiliate Disclosure
In compliance with the FTC guidelines, please assume the following about all links, posts, photos and other material on this website: Any/all of the links on this website are affiliate links of which The Big Red Illustration Agency receives a small commission from sales of certain items, but the price is the same for you. www.bigredillustrationagency.com is a participant in the Amazon Services LLC Associates Program, an affiliate advertising program designed to provide a means for sites to earn advertising fees by advertising and linking to Amazon.com & Amazon.co.uk. Pages on this site may include links to Amazon and its affiliate sites on which the owner of this website will make a referral commission.
FULL TERMS HERE Cookie preferences: cookie preferences

Written By Adam Rushton
Adam has made a name for himself in the illustration industry and is a passionate blogger and writer on the subject of art, illustration and graphic design.
His artwork has been featured in countless publications and used for very well-known media projects. As a professional illustrator for over 20 years, Adams media outlets, a wealth of knowledge, and experience enable him to consult and advise artists and illustrators in this country (from York and Manchester to Southampton and London) and all over the world.
